Lantern Festival On-Site Installation Guide: Setup, Safety & Timeline (2026)
Introduction: The Critical 48 Hours Before Switch-On
The crates have arrived. Your venue is ready. Now comes the most pivotal phase of any lantern festival: on-site installation. A well-executed installation transforms a collection of lantern-craft structures into a magical illuminated world. A poorly managed one risks delays, damage, and disappointed visitors.
Whether you are setting up a single centerpiece lantern or a full festival with 50+ installations, the principles remain the same: plan meticulously, follow safety protocols, and never underestimate the weather. This lantern festival installation guide covers everything from pre-arrival preparation to the final light test, based on our experience setting up exhibitions across 50+ countries.
Pre-Installation Planning (2–4 Weeks Before Delivery)
The most common mistake we see? Venues that start thinking about installation logistics only after the crates arrive. Smart planners begin weeks ahead.
Create an installation checklist covering:
- Site survey: Mark exact positions for each lantern on a venue map. Check ground conditions — grass, pavement, sand, and indoor flooring each need different anchoring methods.
- Power planning: Calculate total wattage (sum of all lantern ratings plus 20% buffer). Map power source locations. For large festivals, you may need temporary generator permits.
- Access routes: Confirm delivery truck can reach the installation zone. Measure doorways, bridges, and overhead clearances.
- Weather forecast monitoring: Strong winds (above 25 km/h) pause crane operations. Rain complicates electrical work. Have a contingency plan.
- Team assembly: A crew of 3–5 experienced installers can handle 8–12 medium lanterns per day. For large installations (15m+), factor in crane operator and rigging specialist.
If Festive Lanterns is providing installation support, our team lead will coordinate this entire phase with your venue manager.
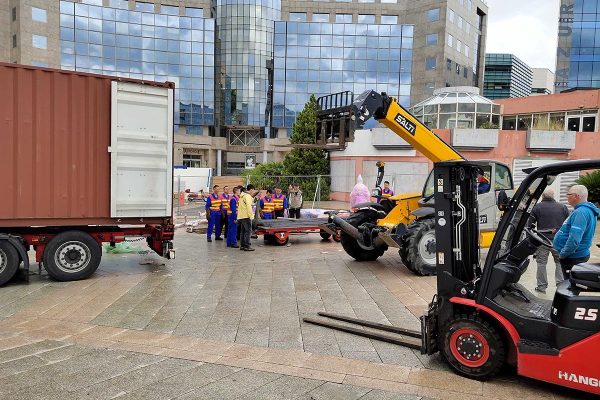
Day 1 — Crate Unloading and Inventory Check
The first day on site focuses on logistics:
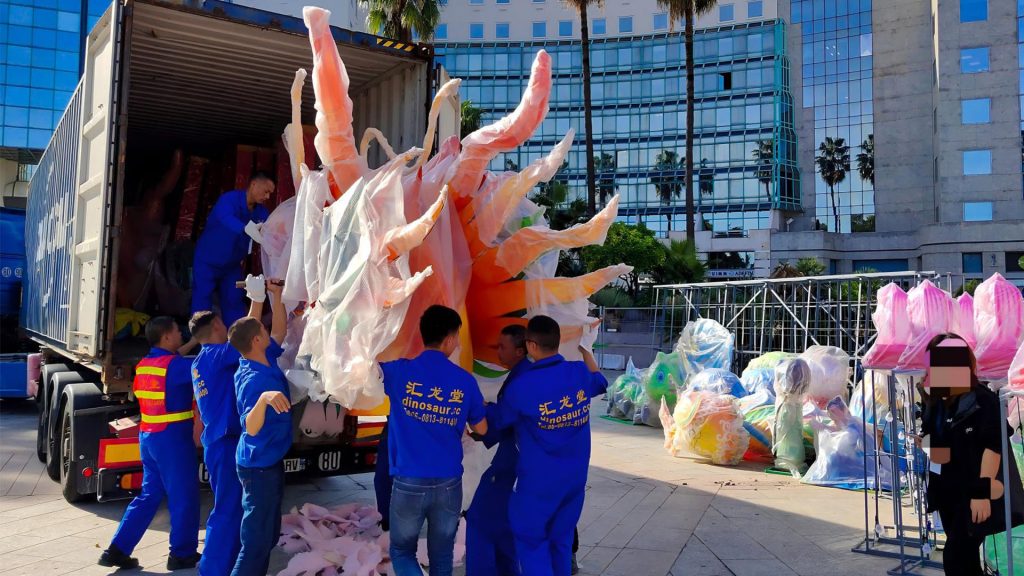
- Crate positioning: Place each crate near its designated installation spot — this saves hours of unnecessary carrying.
- Inventory verification: Cross-check crate labels against the packing list. Every crate is numbered in assembly sequence.
- Tool readiness check: Confirm you have wrenches, screwdrivers, zip ties, electrical tape, multimeter, ground stakes, sandbags, and a tall ladder or scissor lift.
- Unpack first crate: Open one crate fully and verify contents match the photo documentation. This catches any transit damage early.
- Safety briefing: Walk the team through the day’s plan, emergency procedures, and weather watch triggers.
Pro tip: Photograph each crate before opening. If anything arrives damaged, you have documentation for insurance claims.
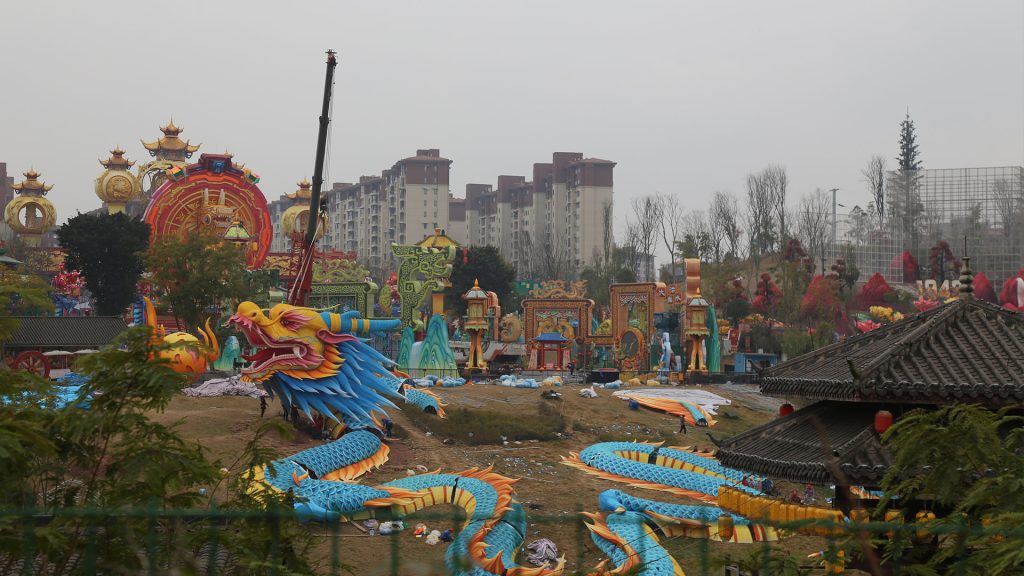
Day 2–3 — Structural Assembly
This is where the lanterns take physical shape:
Assembly sequence:
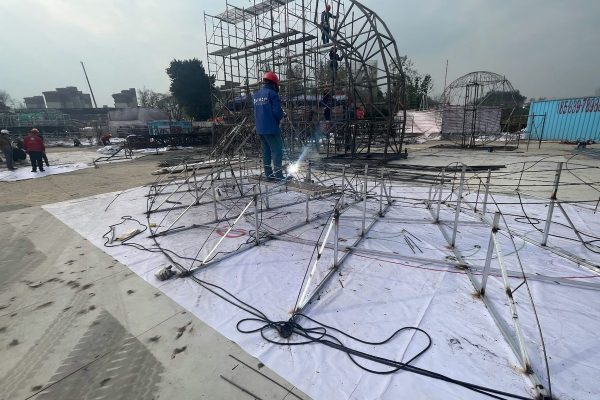
- Base placement and anchoring: Position the metal base plate. For grass, drive 40cm ground stakes through pre-drilled holes. For pavement, use weighted sandbags (50kg per corner minimum).
- Main frame assembly: Connect modular frame sections using the supplied bolts and locking pins. Follow the numbered sequence on each connection point.
- Internal bracing: Double-check all cross-braces are secure. For tall structures, install temporary guy wires before final positioning.
- Leveling check: Use a spirit level on the base plate. Even a 2-degree tilt becomes visually obvious on a 10-meter lantern.
- Fabric attachment: If fabric panels were shipped separately (common for delicate silk elements), attach them now using the pre-marked Velcro strips or tie points.
Critical safety rule: Never assemble tall structures (over 5 meters) in wind exceeding 20 km/h. A 10-meter lantern catches wind like a sail — wait for calm conditions.
Day 4 — Electrical Connection and Programming
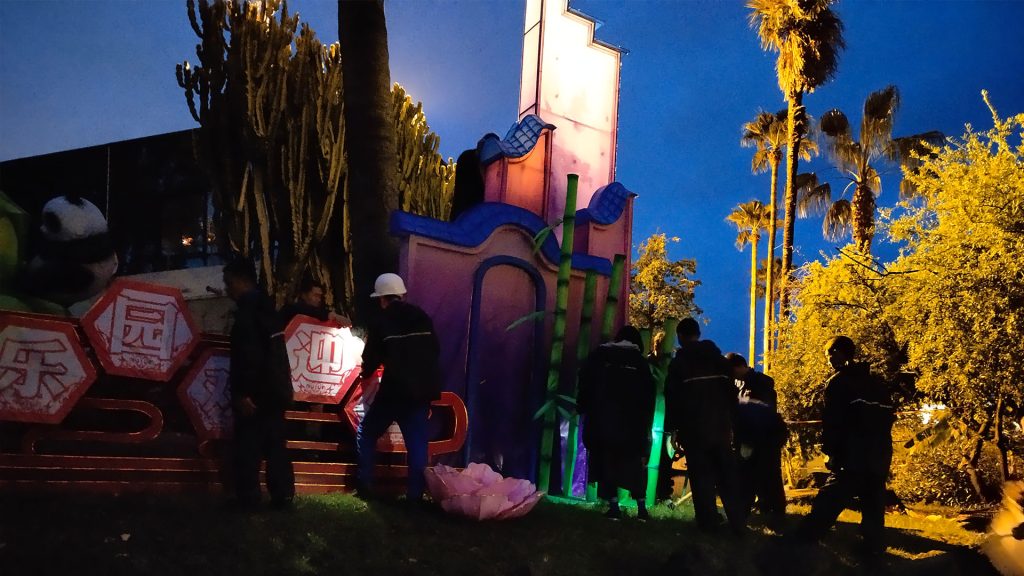
Now the lanterns come to life:
- Transformer installation: Mount weatherproof transformer boxes at each lantern base. Keep connections elevated on bricks or platforms to avoid ground water.
- Cable routing: Run power cables along the ground, covered by heavy-duty cable protectors. Never leave cables exposed in walking areas.
- Circuit connection: Connect LED circuits to controllers following the numbered diagram in your installation manual.
- Individual testing: Power up each lantern one at a time. Check every LED section — a single failed strip is far easier to replace now than after the festival opens.
- DMX programming: Load the pre-programmed light sequences. Test transitions, color changes, and any music synchronization.
- Full system test: Run all lanterns simultaneously for at least 2 hours. Monitor for any flickering, overheating, or tripped circuits.
Day 5 — Final Inspection and Switch-On
The last day before opening:
- Remove all temporary supports, guy wires, and protective wrapping
- Walk the visitor path checking sight lines — can guests see each lantern from the intended angle?
- Verify all cable covers are secure and trip hazards eliminated
- Photograph every installed lantern for your post-event report
- Conduct a “dark test”: Turn off all ambient lighting and walk the exhibition as a visitor would
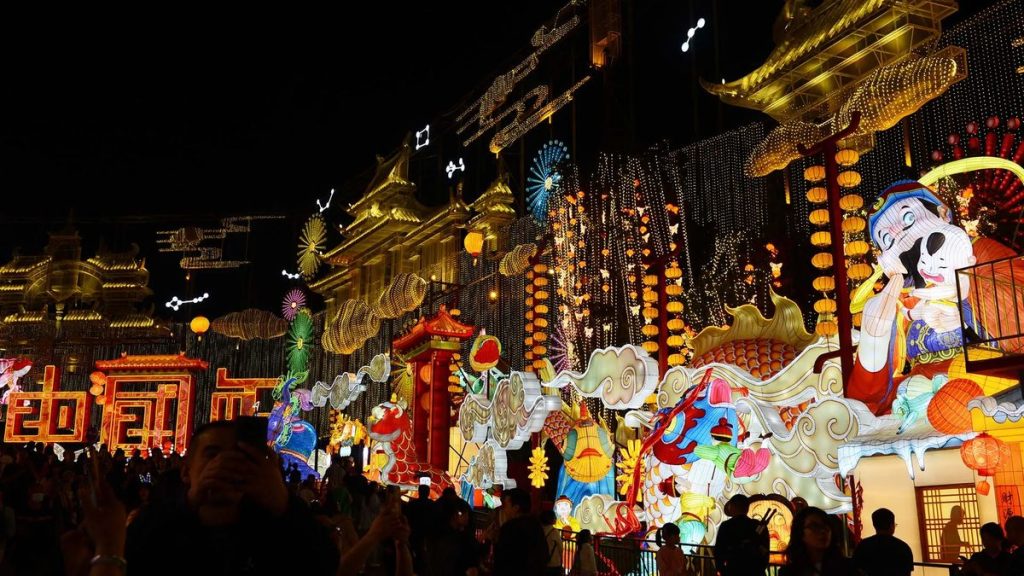
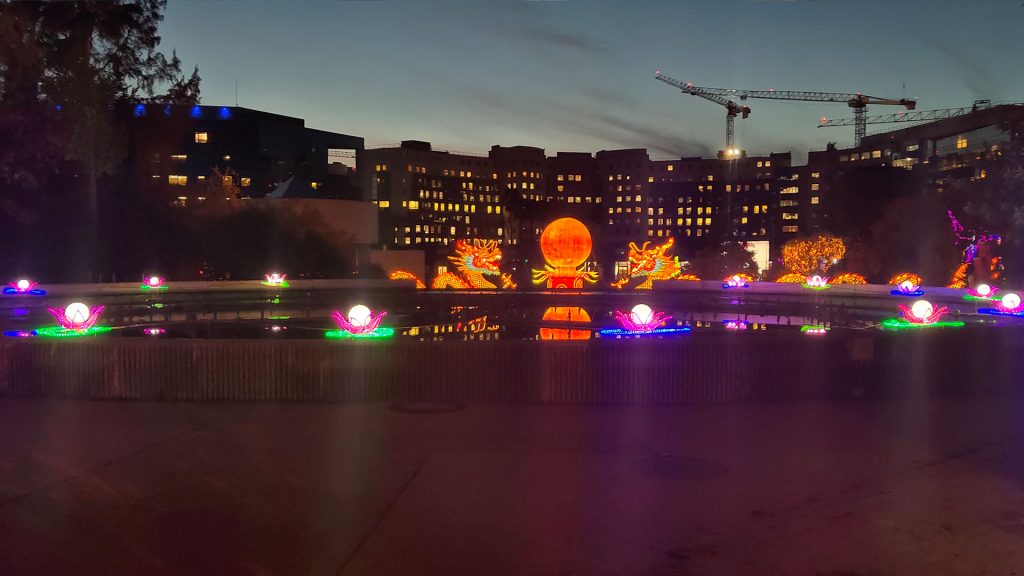
The switch-on moment — when the entire exhibition illuminates for the first time — is what makes all the planning worthwhile.
Safety Checklist Summary
- [ ] All structures anchored per engineering specifications
- [ ] Electrical connections weatherproofed and elevated
- [ ] Cable protectors deployed in all walking areas
- [ ] Fire extinguishers positioned at power distribution points
- [ ] Emergency exit routes clearly marked
- [ ] Wind speed monitor active (cease operations above 25 km/h)
- [ ] Daily inspection log started
Why Professional Installation Matters
While our lanterns are designed for straightforward assembly, professional installation ensures safety compliance, optimal visual impact, and support protection. Our installation team has set up exhibitions across 50+ countries — from Canadian winter festivals to Middle Eastern desert events — giving us unmatched experience with every climate and terrain challenge.
Frequently Asked Questions
Q: How many people do I need for installation?
A: A crew of 3–5 can handle 8–12 medium lanterns per day. Large festivals (50+ pieces) typically need 8–12 installers over 5–7 days. We can provide staffing recommendations based on your order size.
Q: Do you provide installation manuals?
A: Every order includes a detailed installation manual with step-by-step photos, wiring diagrams, and an assembly sequence guide. We also provide video call support during your installation.
Q: What if it rains during installation?
A: Electrical work pauses during active rain. Structural assembly can continue with appropriate rain gear. All electrical components are outdoor-rated, so once connected and sealed, they are safe in rain. Never connect power with wet hands or in standing water.
Q: Can your team come to our site for installation?
A: Yes, we offer worldwide on-site installation service. Our technicians handle everything from uncrating to final lighting test, and they train your staff on daily operation and basic troubleshooting.
Related Products & Resources
- Chinese Lantern Products — Browse our full range of custom lantern displays
- Animatronic Dinosaurs & Animals — Life-size custom exhibits for parks and museums
- More Guides & Articles — Festival planning, buying guides, and industry insights
- Get a Free Custom Proposal & Quote