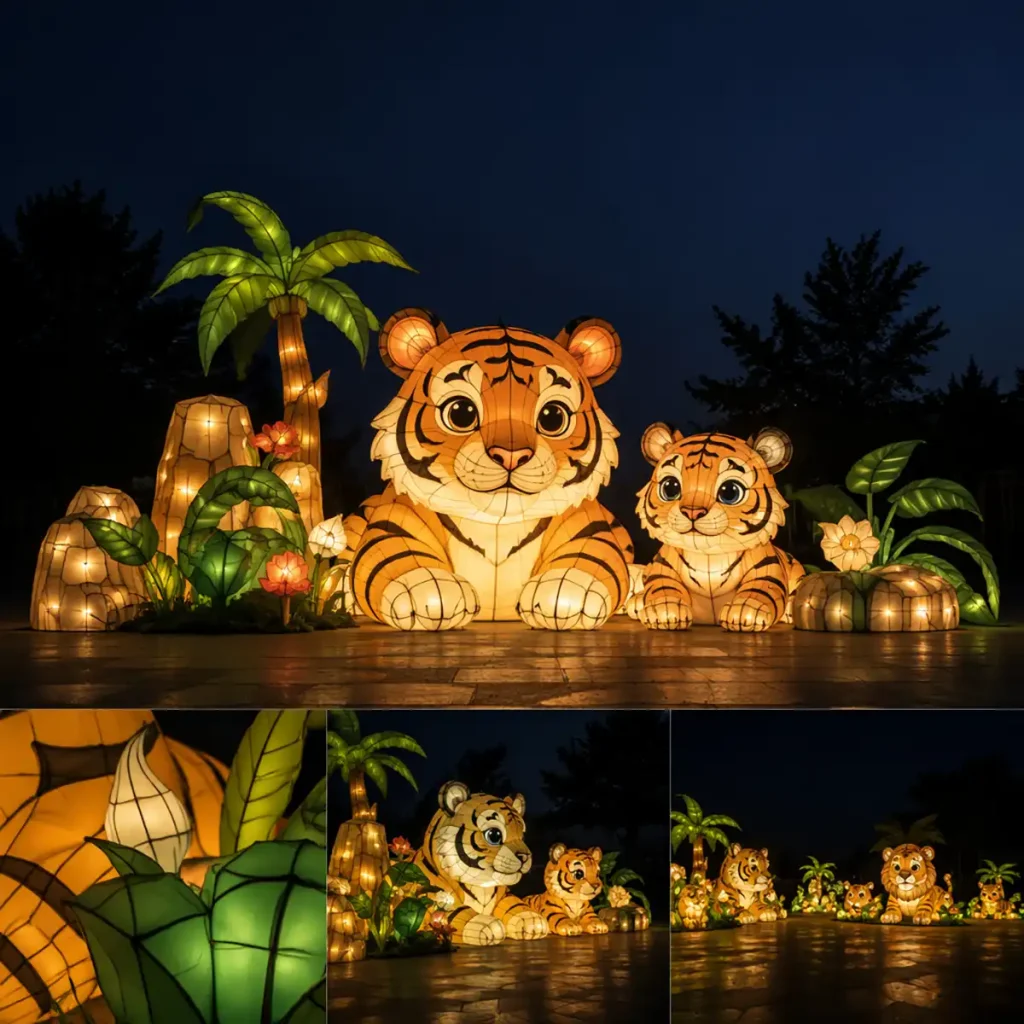
Tiger Lantern Family Sculpture — Cute-Style Adult and Cub Wildlife Display
About This Design
This is an AI-assisted concept visualization paired with human-written design intent and production-verified technical specifications. It is a design direction — not a manufactured product. When you order, our team creates custom 3D renderings and fabricates the actual lantern in our Zigong workshop.
Every animal in this range has one design problem that decides whether the piece works. For the tiger family, it is the stripes. Tiger markings are long, irregular bands that wrap around a rounded body, and the moment a lantern is lit from inside, those bands become the hardest thing on the whole figure to keep readable — a tiger with soft stripes looks like an orange cat with smudges. This concept is an adult and a cub in an Asian habitat setting with palm trees, rock forms and lily flowers, composed so the stripes hold their edge at night rather than dissolving into the coat.
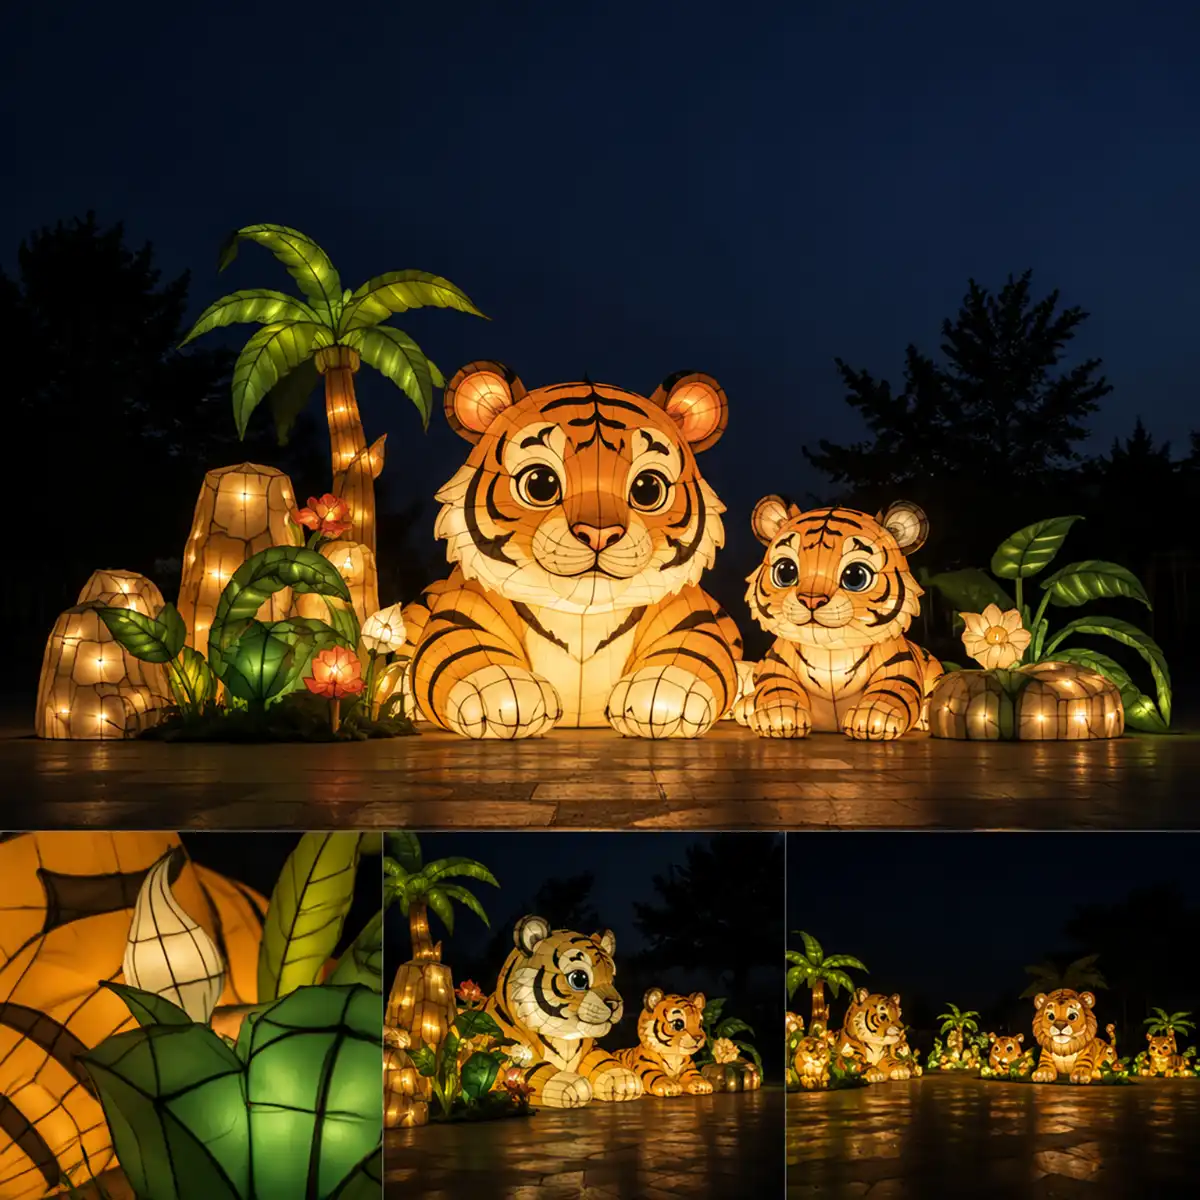
This is an AI-assisted concept visualisation paired with human-written design intent and production specifications — a design direction, not a photograph of a manufactured product. When a project is confirmed, the scene is redrawn to your venue dimensions and built in our Zigong workshop on a weatherproof internal frame with hand-painted high-density fabric over a shaped understructure and internal low-voltage LED. The composition scales from a compact 3 m set to a monumental 15 m feature.
Why Tiger Stripes Are the Hardest Marking in Lantern Work
Spots are forgiving. A cheetah’s rosettes sit as discrete shapes on a flat-ish surface, and they survive a soft light wash. Stripes do something much more difficult.
- They cross form. A stripe has to travel over the shoulder, down the flank and around the belly without breaking. Every seam in the surface is a place where the stripe can misalign.
- They are long lines. The eye is very good at spotting a line that changes width or wanders, so any inconsistency in a 2 m stripe is immediately visible.
- They are read edge-on. Visitors see a tiger from the side, from three-quarters and from below. A stripe that works from one angle can look like a random blotch from another.
- They sit on the brightest surface. Orange catches internal light strongly, and bright surfaces are where dark markings lose contrast first.
All of this means the design effort for a tiger goes into how the markings were laid out and how the light behaves around them — not into making the animal bigger.
Stripes Change How Wide the Animal Looks
Stripes are not just decoration; they control how heavy the body reads. Two tigers built from the same frame with different stripe direction look like different animals.
| Stripe direction on the flank | Visual effect | When to use it |
|---|---|---|
| Vertical, running down the flank | Emphasises height, slims the body | Narrow figures, tall display positions, side-on viewing |
| Horizontal, running along the body | Emphasises length, widens the body | Long sightlines where the animal should feel substantial |
| Diagonal, following the rib line | Neutral — reads as natural and slightly dynamic | The default for a standing or alert pose |
The useful practical rule: stripes on the flank control apparent mass; stripes on the shoulder and haunch control apparent power. Thicker, denser markings over the shoulder and thigh make the animal look stronger without adding a single centimetre to the frame. Keeping the belly and inner legs lightly marked keeps the silhouette from closing up into a solid mass.
For the cub, reduce stripe density rather than stripe strength. A cub with fewer, softer bands automatically reads as younger, and it avoids the common mistake of making a small tiger look like a scaled-down adult.
How the Stripes Are Lit — and Why They Must Not Be Lit Evenly
The lighting principle that makes a tiger legible is the same one that makes the cheetah work, applied differently: the contrast belongs to the surface, not to the lamp.
- Never run a light strip along a stripe. Illuminating a marking directly makes it glow and destroys the dark-vs-light reading that defines the animal.
- Zone the body, not the pattern. The internal LED is split into zones across the shoulder, flank, haunch and head so brightness can be tuned by area, leaving the painted markings to do their own work.
- Keep the head slightly brighter. Visitors look at the face first, so a modest brightness step at the head makes the whole figure feel alert.
- Hold the edges crisp. Paint edges matter more than paint quantities. A thin, well-defined stripe beats a heavy, fuzzy one every time.
- Add a controlled highlight on the chest. A warm-white chest wash lifts the front of the figure and separates it from the belly when viewed from the side.
Orange Is Not Orange at Night
Tiger orange is one of the most reliably misjudged colours in illuminated work. Under typical night viewing and a camera white balance set to the surrounding scene, a saturated orange shifts toward a warm yellow-brown, and any red mixed in drops out almost completely.
- Start warmer than the target. Choose a base coat that looks slightly too red in daylight; it will land close to correct under warm interior light.
- Avoid pure saturated orange. A slightly desaturated earth-orange holds its identity across a wider range of light temperatures.
- Protect the white areas. Cream chest, muzzle and inner ears are the reference the eye uses to judge the orange. Keep them clean and neutral, or the whole animal looks dirty.
- Check with a phone camera at dusk. The camera is the tool most visitors will use. If the orange reads as yellow on a phone at dusk, it will read as yellow in every photograph shared from the event.
This is also why the dark stripes should be painted rather than lit: on a warm-lit orange surface, painted markings stay readable at any light temperature, whereas lit markings follow the lamp colour and drift with it.
The Habitat Set — Palm, Rock and Understorey Light
The supporting scenery does one job: it tells visitors where the animal lives without competing for attention.
- Palm and broadleaf forms give the Asian forest cue and add vertical interest above the figures without blocking them.
- Rock forms provide the level change that raises the main figure for visibility and gives the cub something to stand against.
- Understorey light — a low warm-white wash on the ground plane — makes the set feel like a clearing rather than an object on grass.
- Restraint on colour. Tiger orange, black stripes, cream belly, green foliage and pink lilies is already five values. Adding more turns a night scene into a light show.
Keep the ground plane walkable. Anything loose at foot level — small stones, low tufts, unsecured props — will move over a season and eventually read as damage rather than design.
Where a Tiger Family Set Works
Tiger family groups suit Asian wildlife zones, children’s theme parks, family festival grounds, the Asian hall of a zoo and botanical gardens with a jungle theme. The pair works particularly well as a gateway piece: the adult on the elevated level and the cub in front create a natural pause point that slows visitors at the entrance without blocking the route.
For venues building a themed route, this set sits naturally with the custom animatronic big cat for a moving counterpart, and with the lifelike panda model where an Asian area includes several species. See also our animal lantern manufacturer and zoo lights programme pages, or browse all animal lantern designs.
Frequently Asked Questions
Can the tiger’s markings be customised?
Yes. Stripe density, thickness and direction on the flank are all set at the design stage, which also means the animal’s apparent build can be tuned without changing the frame. Venue-specific marking layouts can be discussed before production.
Is a snow tiger or white tiger version possible?
Yes, and it demands a completely different lighting treatment — a pale coat needs lower overall internal brightness and stronger edge definition, otherwise the markings lose contrast and the animal reads as a white shape.
Can the family group be built with more than two figures?
Yes. Three-figure and five-figure versions are available, with additional cubs placed at different heights and orientations so the composition stays a group rather than a line.
How does the set handle wind on an exposed site?
The adult figure is the governing element for wind. On exposed sites the base and ballast are sized for the figure’s surface area, and the plant and rock elements are built with pass-through frames so they do not act as sails.
Can the scene be adapted for an indoor space?
Yes. The same figures suit indoor exhibition halls and covered atriums; the difference is in the fixing method and the base arrangement, which is agreed before production.
What is supplied with the set?
Figures, scenery elements, lighting with local drivers and pre-terminated labelled looms, plus an assembly layout drawing that positions every part. Installation is by our crew or a supervised local team.
Related Animal Designs
For the inverse design problem — markings that must stay dark rather than readable — see the cheetah family. For managing heavy visual mass instead of fine detail, see the rhino family. Smaller scenes in the same family: the koala eucalyptus grove, the raccoon leaf-gathering scene and the squirrel with acorn.
Browse the full animal lantern range, or send your venue type, viewing distances and available width through the contact form for a layout drawn to your site.
From Concept to Your Venue
Select & Customise
Choose a design direction. We will adjust size, colours, lighting, and theme to match your venue.
3D Render
Our design team creates production-ready 3D renderings based on the concept and your requirements.
Fabricate
Master artisans handcraft your lantern in our Zigong workshop — internal frame, hand-painted covering, LED programming.
QC & outdoor-rated Test
72-hour burn-in test, full weatherproof verification, structural inspection. Built to last.
Ship & Install
Export docs handled. Container loading. On-site installation crew available for your event.